

Bedroom number two which originally started out as the bathroom located on the top right floor, pictured below, now was going to be transformed into a bedroom fit for a teenager / young boy.

After seeing the work i was doing on the Dollhouse, my son asked me if he could have a room dedicated to him, so that he could play with his sister.
At first I was surprised he would want his own "room" in the dollhouse, but as his sister has gotten older, they seem to be playing much more together so I said yes.
I knew my little girl would love it what ever it was, so I spent the afternoon asking my son what he would like in it and begun looking through my craft supplies and his toys for suitable things to put in it.
The floor had already been changed from the original tiles to a wood floor, and i have to say, the tiles were a nightmare to remove.
I decided to leave two walls in the original light aqua colour.

I then covered the feature wall in "wallpaper" from a sheet of black glitter foam.

Then it was time to make the bed and other accesories.
The bed was made by creating a four post bunk bed from wood.

I painted it white and added a mattress to the top and left the bottom empty for a sofa I would be putting in later.

I made some bedding, making two large pillows and one small pillow for the top bunk.
I used some fabric I found in my charity pile from my daughter's old clothes and used it for a blanket and throw.

I used the same fabric again to create two small pillows for the sofa and a throw blanket to drape over the corner.
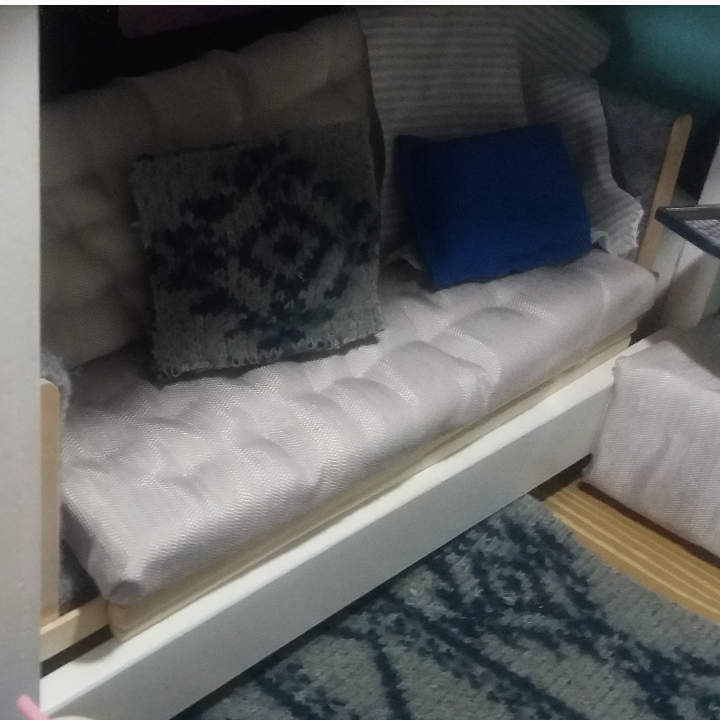
I created the sofa using balsa wood as a frame, covering it in thin foam and upholstering it in shiny light grey fabric.
I created the bottom and back of the sofa with a padded faux button look, using a needle and thread, as I did with the sofa and seat in the living room, and glued the sofa to the bed frame.

The two rugs on the floor were created by using the same bedding fabric and cutting a kidney shape in one, and a square shape in the other.
The fabric started out as a pyjamas onesie and a wool winter jacket.
There was no need to sew a hem on these ones, as they dont fray .
I loved the pattern of the fabric and warmth of the other, and thought it would work nicley in the room.

On the other side of the room I created an easy, basic wardrobe with an opening door, to put things in.
It was made by using paddlepop sticks, a chopstick, ribbon for the front and some wire to attach the door as a hinge.

Next to the wardrobe I added some posters, which I placed a dresser in front of, made from balsa wood left over from the kitchen.
I also added a cute vintage stereo i inherited with the house.

A suitcase and bike completed the wardrobe with a little toy hanging from it.

Above the posters, I made a small shelf from cardboard, which I fitted with a real black and white photo of hills.

The posters I picked are all inspirational, so now every time the kids play in here they are reading positive messages.

I made the curtains for this room from the same bamboo place mat I used for the living area.

I left them the natural colour this time as I liked the look of wood blinds in this room.

I made drapes from some navy blue lycra and a small table under the window to hold a laptop and a plant, I also found a vintage bowling pin I added to the desk to finish it off.

Under the desk I made another seat in the same material as the sofa bed so more dolls can sit in the room when needed.
The bed needed some way of getting to the top, so I added paddlepop sticks to one end as a ladder.

This was also the perfect place to hang a skateboard from.

Above the bed I made a shelf from more popsicle sticks and added a clock and a stone.
I also stuck an owl feather above the bed and two more pictures which fitted into the room great.

I had a new Barbie plastic beanbag with the lounge room pack I purchased (see living room blog) but as it was light blue, plastic and chunky, I needed to either spray it, or cover it.

I chose to cover it in a light grey stretch lycra, loosely sewing a bean bag cover for it and adding two pillows from the same fabric used for the bedding.
A small coffee table was added made from wood, and then painted navy blue to match.

I also placed a golf stick and a snow board next to the dresser draws, to complete the sporty / outdoor dreamy theme.
Next I will be working on the final bedroom, which will specifically be designed for my little girl.
Then it's just the study, laundry and stairs left ! Ahhh and it's almost Christmas!!

No comments
Post a Comment